14 KiB
Ignition: a beautiful error page for PHP apps
Ignition is a beautiful and customizable error page for PHP applications
Here's a minimal example on how to register ignition.
use Spatie\Ignition\Ignition;

include 'vendor/autoload.php';

Ignition::make()->register();
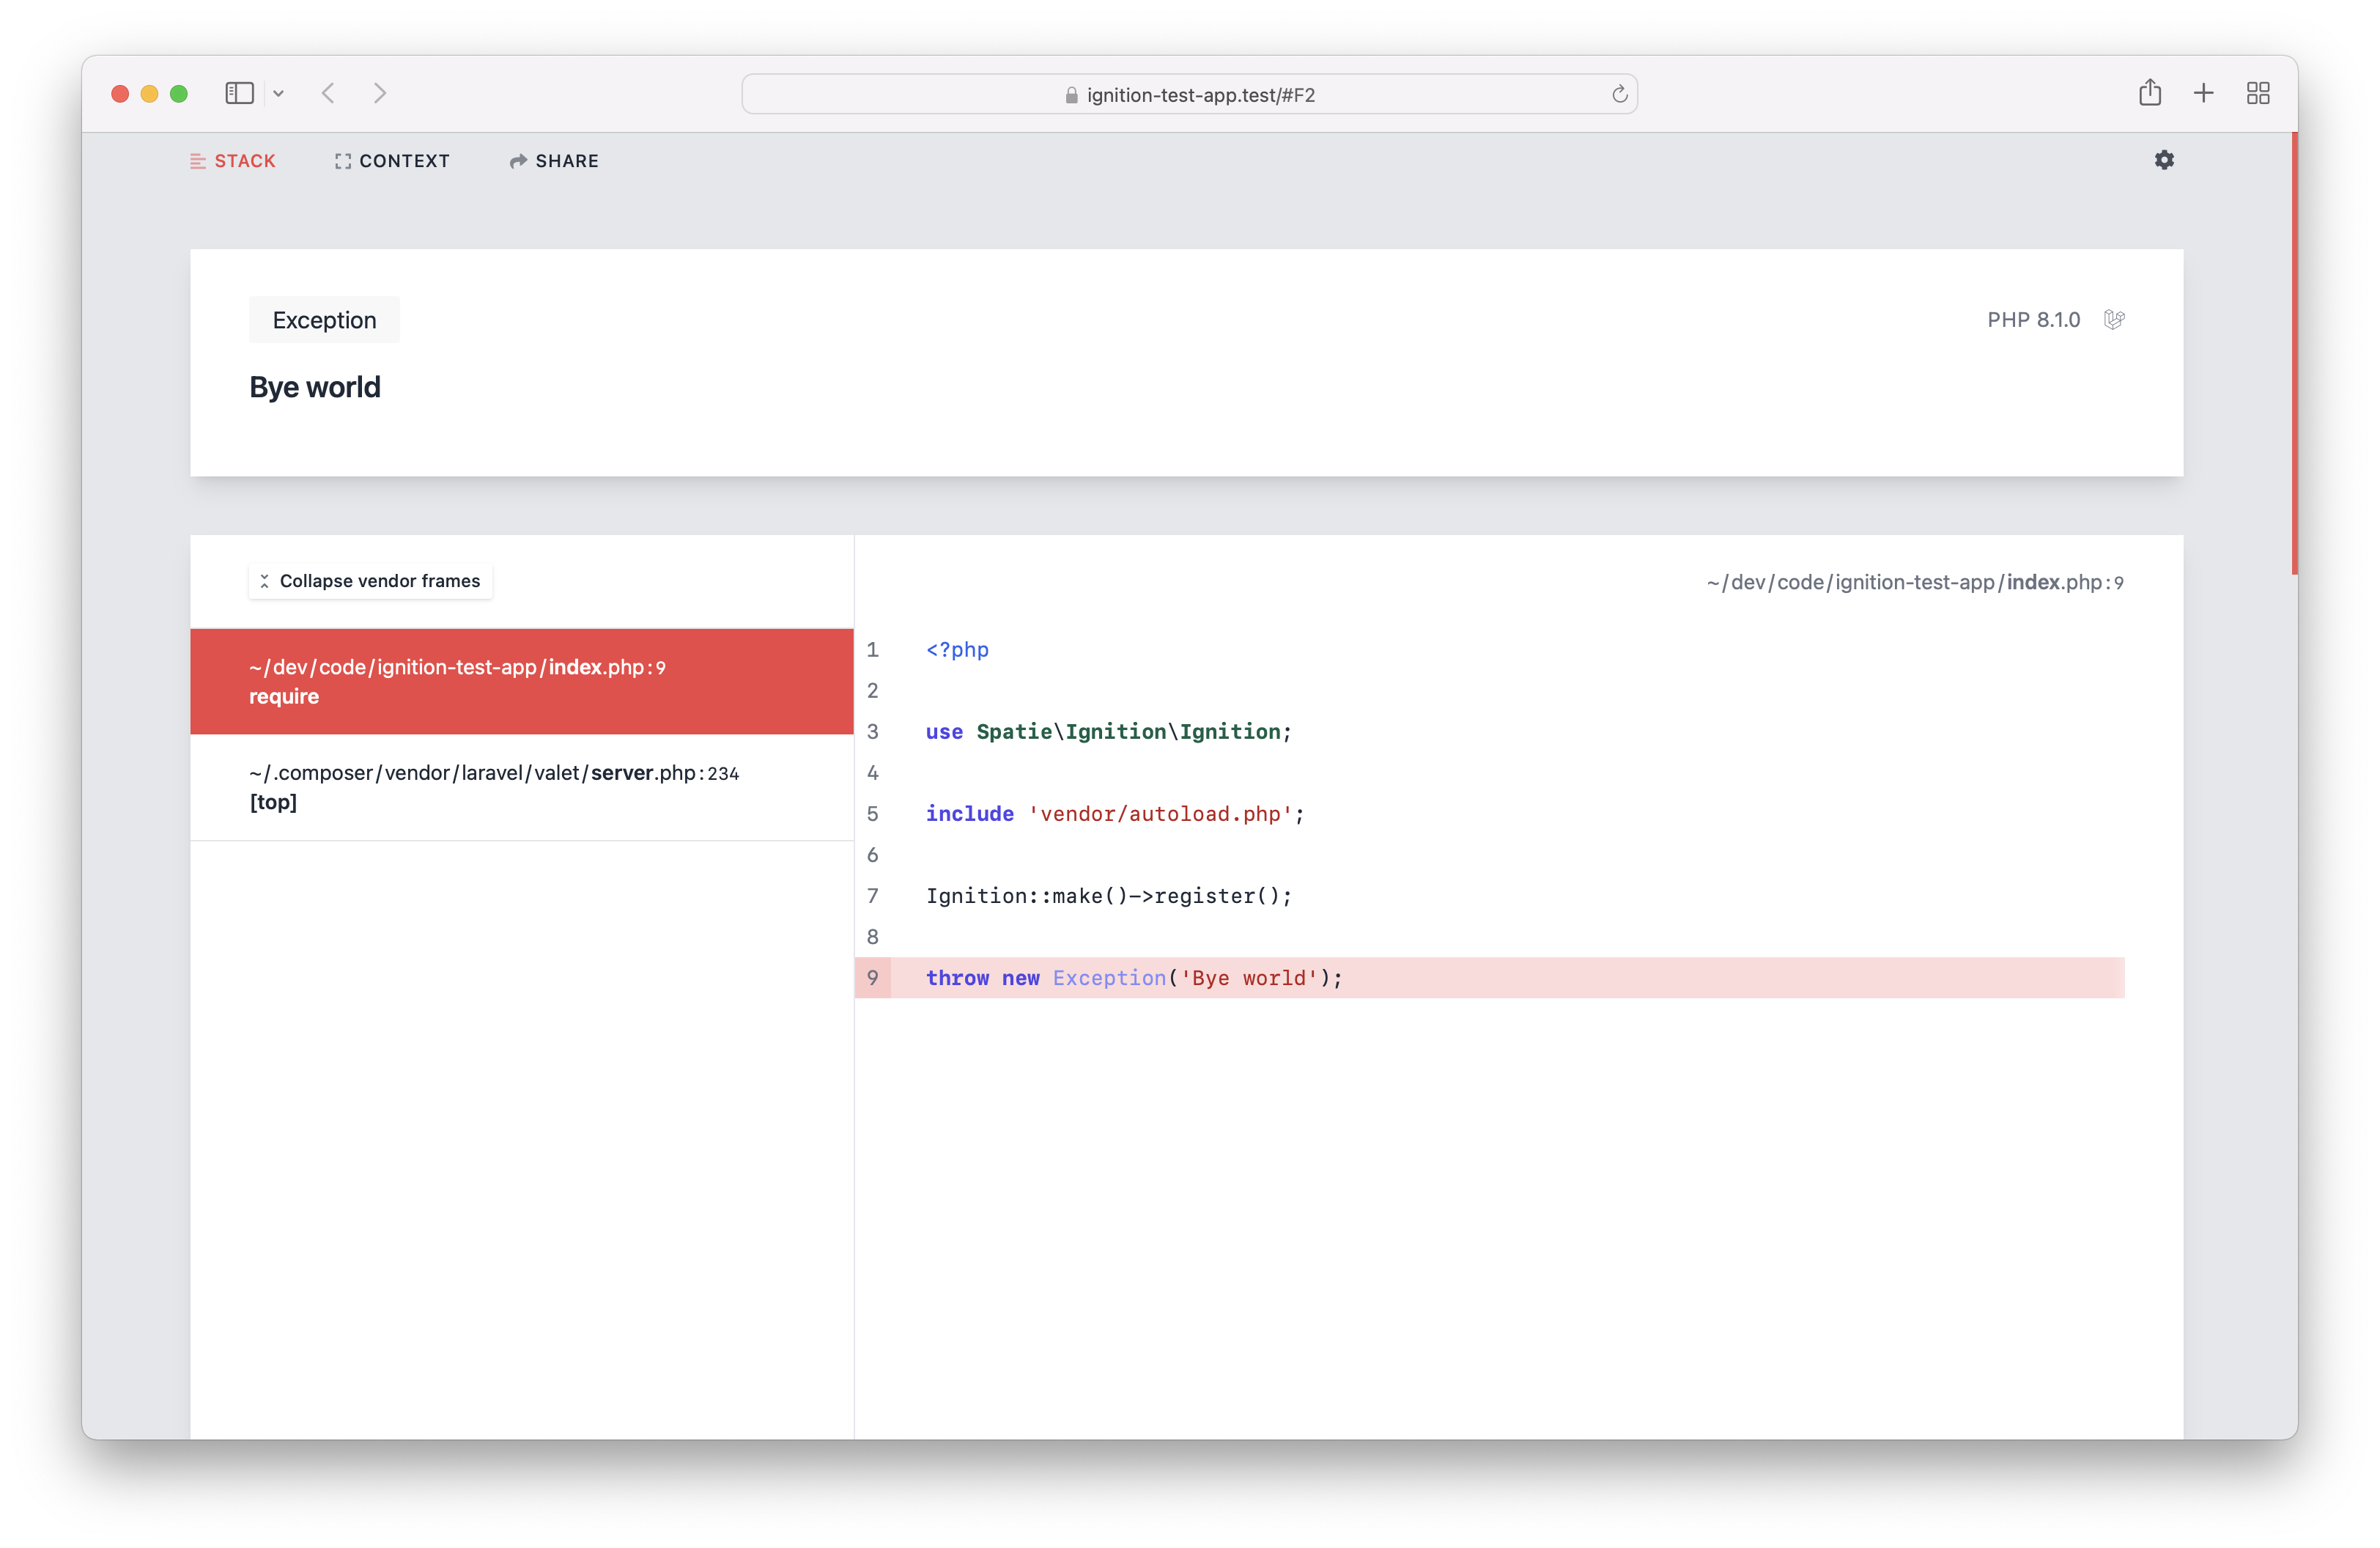
Let's now throw an exception during a web request.
throw new Exception('Bye world');
This is what you'll see in the browser.
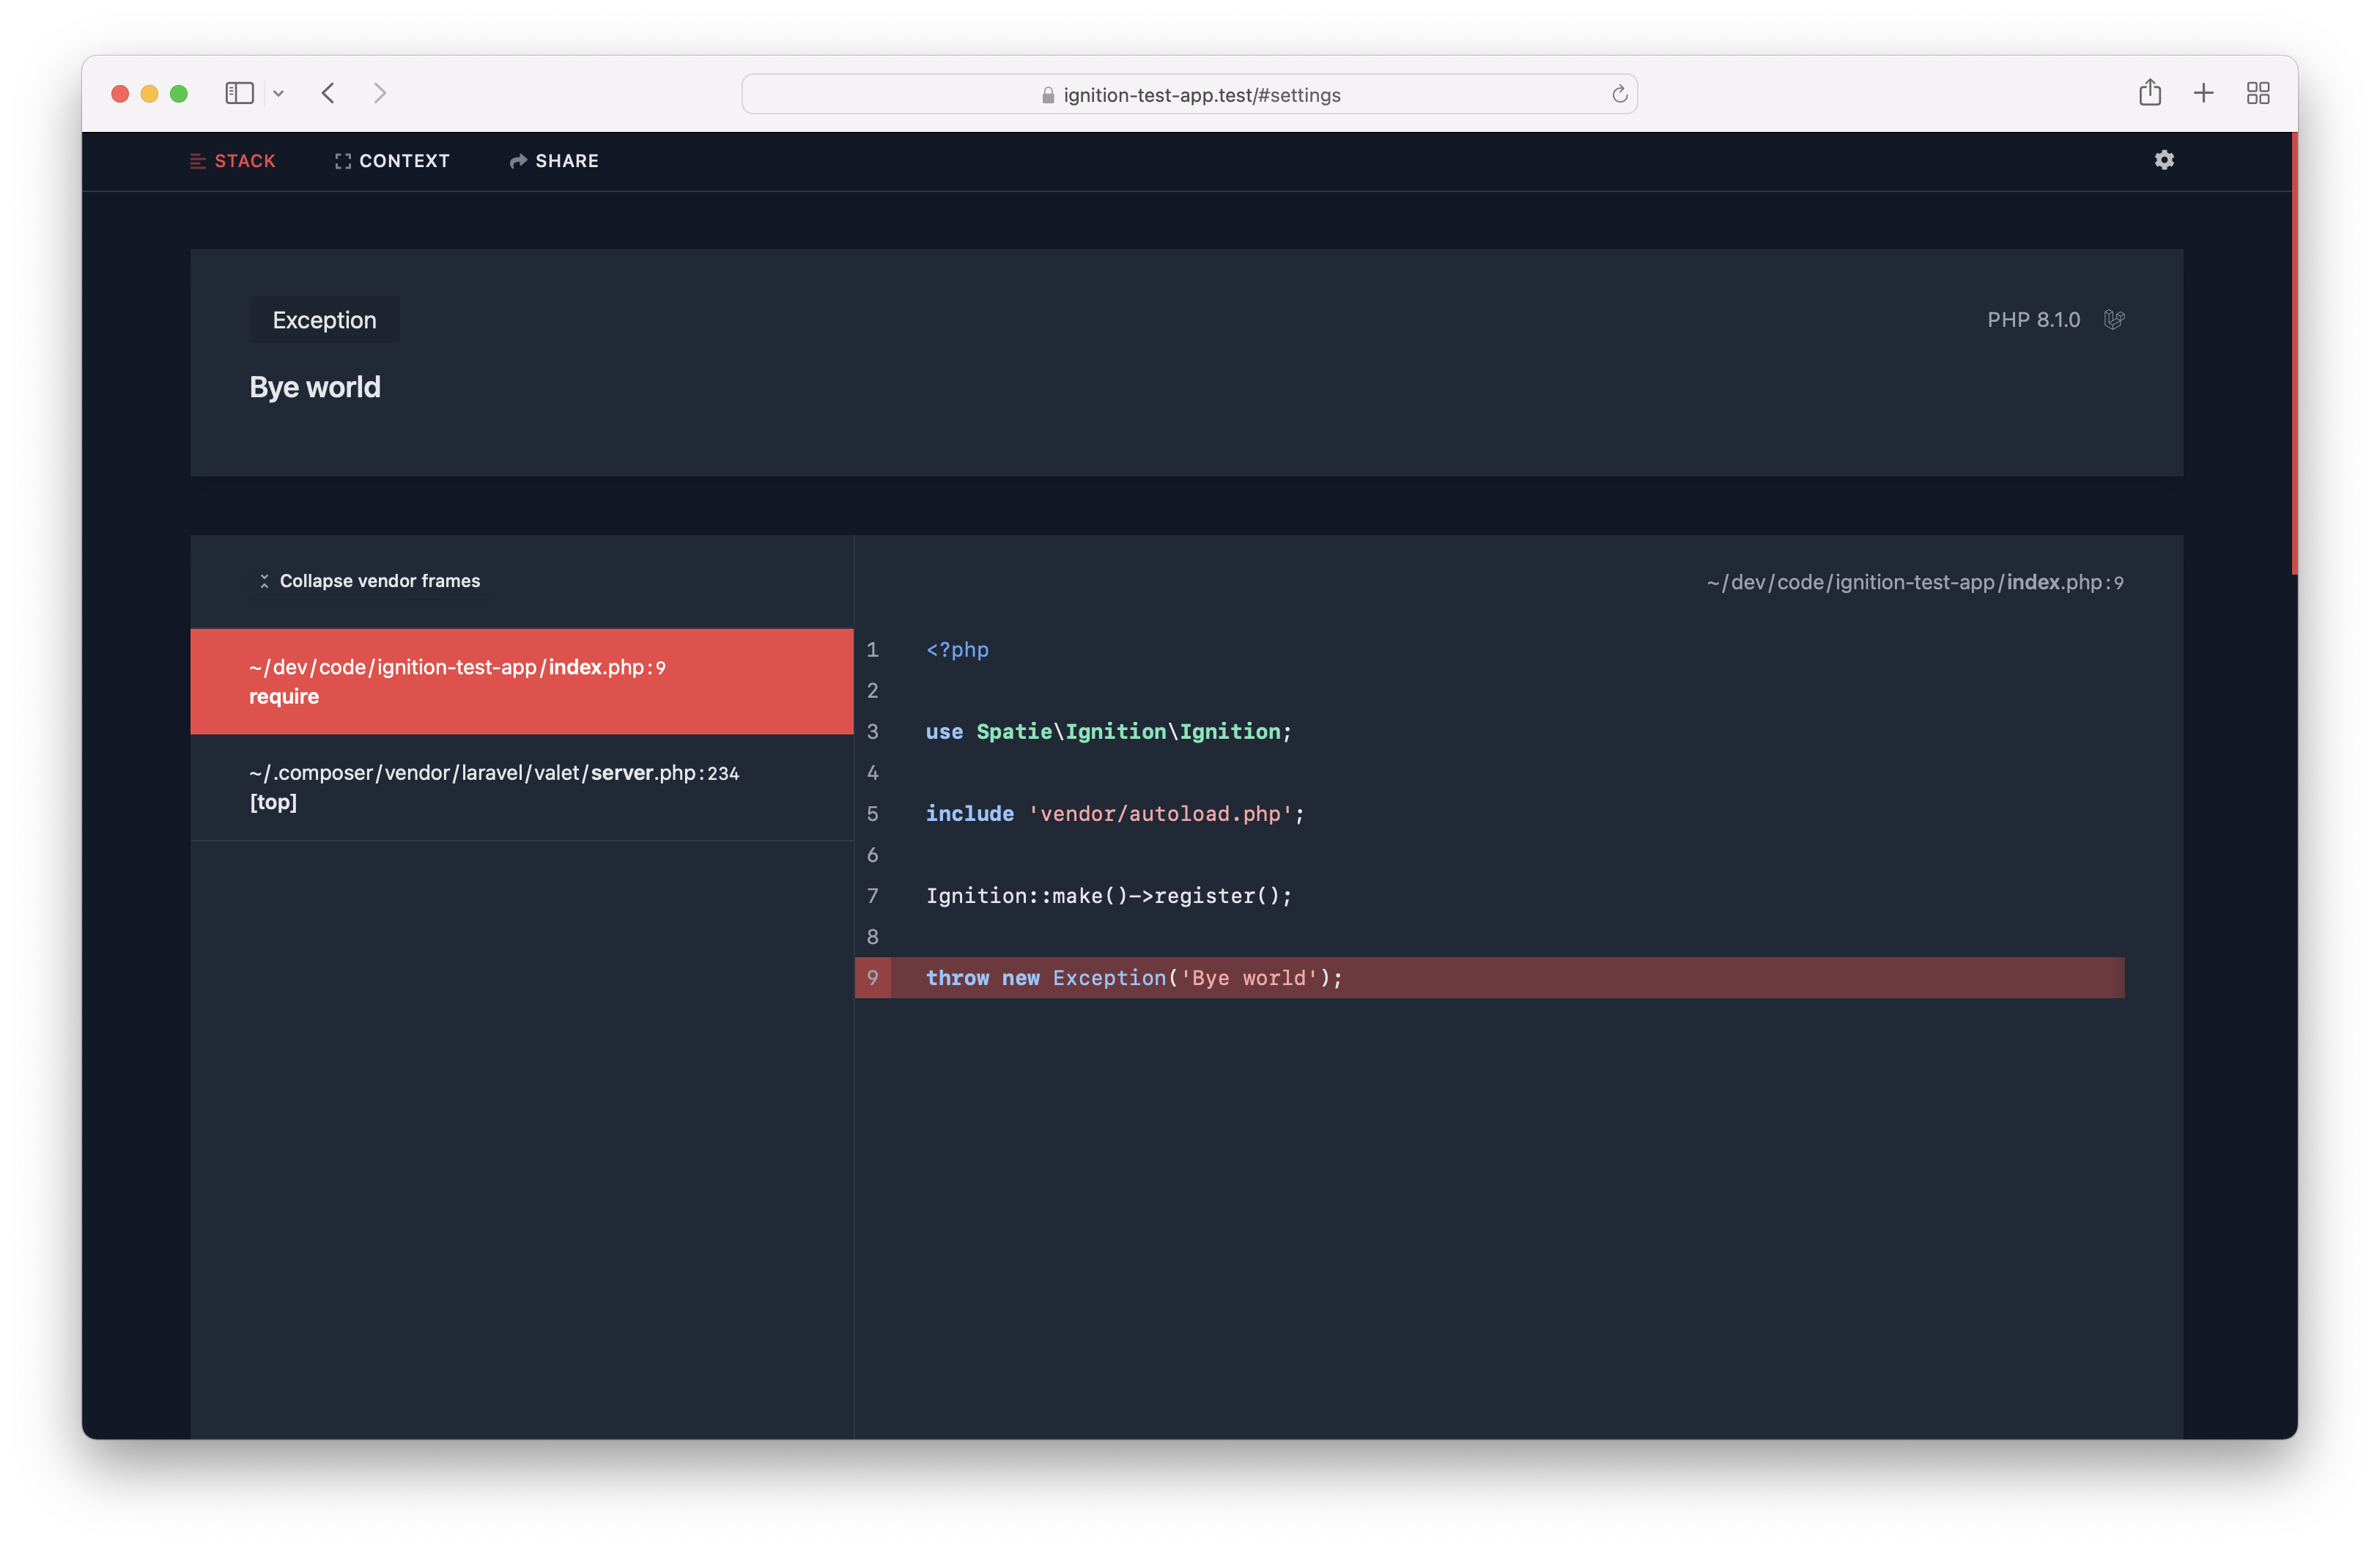
There's also a beautiful dark mode.
Are you a visual learner?
In this video on YouTube, you'll see a demo of all of the features.
Do know more about the design decisions we made, read this blog post.
Support us
We invest a lot of resources into creating best in class open source packages. You can support us by buying one of our paid products.
We highly appreciate you sending us a postcard from your hometown, mentioning which of our package(s) you are using. You'll find our address on our contact page. We publish all received postcards on our virtual postcard wall.
Installation
For Laravel apps, head over to laravel-ignition.
For Symfony apps, go to symfony-ignition-bundle.
For all other PHP projects, install the package via composer:
composer require spatie/ignition
Usage
In order to display the Ignition error page when an error occurs in your project, you must add this code. Typically, this would be done in the bootstrap part of your application.
\Spatie\Ignition\Ignition::make()->register();
Setting the application path
When setting the application path, Ignition will trim the given value from all paths. This will make the error page look more cleaner.
\Spatie\Ignition\Ignition::make()
    ->applicationPath($basePathOfYourApplication)
    ->register();
Using dark mode
By default, Ignition uses a nice white based theme. If this is too bright for your eyes, you can use dark mode.
\Spatie\Ignition\Ignition::make()
    ->useDarkMode()
    ->register();
Avoid rendering Ignition in a production environment
You don't want to render the Ignition error page in a production environment, as it potentially can display sensitive information.
To avoid rendering Ignition, you can call shouldDisplayException and pass it a falsy value.
\Spatie\Ignition\Ignition::make()
    ->shouldDisplayException($inLocalEnvironment)
    ->register();
Displaying solutions
In addition to displaying an exception, Ignition can display a solution as well.
Out of the box, Ignition will display solutions for common errors such as bad methods calls, or using undefined properties.
Adding a solution directly to an exception
To add a solution text to your exception, let the exception implement the Spatie\Ignition\Contracts\ProvidesSolution
interface.
This interface requires you to implement one method, which is going to return the Solution that users will see when
the exception gets thrown.
use Spatie\Ignition\Contracts\Solution;
use Spatie\Ignition\Contracts\ProvidesSolution;

class CustomException extends Exception implements ProvidesSolution
{
    public function getSolution(): Solution
    {
        return new CustomSolution();
    }
}
use Spatie\Ignition\Contracts\Solution;

class CustomSolution implements Solution
{
    public function getSolutionTitle(): string
    {
        return 'The solution title goes here';
    }

    public function getSolutionDescription(): string
    {
        return 'This is a longer description of the solution that you want to show.';
    }

    public function getDocumentationLinks(): array
    {
        return [
            'Your documentation' => 'https://your-project.com/relevant-docs-page',
        ];
    }
}
This is how the exception would be displayed if you were to throw it.
Using solution providers
Instead of adding solutions to exceptions directly, you can also create a solution provider. While exceptions that return a solution, provide the solution directly to Ignition, a solution provider allows you to figure out if an exception can be solved.
For example, you could create a custom "Stack Overflow solution provider", that will look up if a solution can be found for a given throwable.
Solution providers can be added by third party packages or within your own application.
A solution provider is any class that implements the \Spatie\Ignition\Contracts\HasSolutionsForThrowable interface.
This is how the interface looks like:
interface HasSolutionsForThrowable
{
    public function canSolve(Throwable $throwable): bool;

    /** @return \Spatie\Ignition\Contracts\Solution[] */
    public function getSolutions(Throwable $throwable): array;
}
When an error occurs in your app, the class will receive the Throwable in the canSolve method. In that method you
can decide if your solution provider is applicable to the Throwable passed. If you return true, getSolutions will
get called.
To register a solution provider to Ignition you must call the addSolutionProviders method.
\Spatie\Ignition\Ignition::make()
    ->addSolutionProviders([
        YourSolutionProvider::class,
        AnotherSolutionProvider::class,
    ])
    ->register();
AI powered solutions
Ignition can send your exception to Open AI that will attempt to automatically suggest a solution. In many cases, the suggested solutions is quite useful, but keep in mind that the solution may not be 100% correct for your context.
To generate AI powered solutions, you must first install this optional dependency.
composer require openai-php/client
To start sending your errors to OpenAI, you must instanciate the OpenAiSolutionProvider. The constructor expects a OpenAI API key to be passed, you should generate this key at OpenAI.
use \Spatie\Ignition\Solutions\OpenAi\OpenAiSolutionProvider;

$aiSolutionProvider = new OpenAiSolutionProvider($openAiKey);
To use the solution provider, you should pass it to addSolutionProviders when registering Ignition.
\Spatie\Ignition\Ignition::make()
    ->addSolutionProviders([
        $aiSolutionProvider,
        // other solution providers...
    ])
    ->register();
By default, the solution provider will send these bits of info to Open AI:
- the error message
- the error class
- the stack frame
- other small bits of info of context surrounding your error
It will not send the request payload or any environment variables to avoid sending sensitive data to OpenAI.
Caching requests to AI
By default, all errors will be sent to OpenAI. Optionally, you can add caching so similar errors will only get sent to OpenAI once. To cache errors, you can call useCache on $aiSolutionProvider. You should pass a simple-cache-implementation. Here's the signature of the useCache method.
public function useCache(CacheInterface $cache, int $cacheTtlInSeconds = 60 * 60)
Hinting the application type
To increase the quality of the suggested solutions, you can send along the application type (Symfony, Drupal, WordPress, ...) to the AI.
To send the application type call applicationType on the solution provider.
$aiSolutionProvider->applicationType('WordPress 6.2')
Sending exceptions to Flare
Ignition comes with the ability to send exceptions to Flare, an exception monitoring service. Flare can notify you when new exceptions are occurring in your production environment.
To send exceptions to Flare, simply call the sendToFlareMethod and pass it the API key you got when creating a project
on Flare.
You probably want to combine this with calling runningInProductionEnvironment. That method will, when passed a truthy
value, not display the Ignition error page, but only send the exception to Flare.
\Spatie\Ignition\Ignition::make()
    ->runningInProductionEnvironment($boolean)
    ->sendToFlare($yourApiKey)
    ->register();
When you pass a falsy value to runningInProductionEnvironment, the Ignition error page will get shown, but no
exceptions will be sent to Flare.
Sending custom context to Flare
When you send an error to Flare, you can add custom information that will be sent along with every exception that happens in your application. This can be very useful if you want to provide key-value related information that furthermore helps you to debug a possible exception.
use Spatie\FlareClient\Flare;

\Spatie\Ignition\Ignition::make()
    ->runningInProductionEnvironment($boolean)
    ->sendToFlare($yourApiKey)
    ->configureFlare(function(Flare  $flare) {
        $flare->context('Tenant', 'My-Tenant-Identifier');
    })
    ->register();
Sometimes you may want to group your context items by a key that you provide to have an easier visual differentiation when you look at your custom context items.
The Flare client allows you to also provide your own custom context groups like this:
use Spatie\FlareClient\Flare;

\Spatie\Ignition\Ignition::make()
    ->runningInProductionEnvironment($boolean)
    ->sendToFlare($yourApiKey)
    ->configureFlare(function(Flare  $flare) {
        $flare->group('Custom information', [
            'key' => 'value',
            'another key' => 'another value',
        ]);
    })
    ->register();
Anonymize request to Flare
By default, the Ignition collects information about the IP address of your application users. If you don't want to send this information to Flare, call anonymizeIp().
use Spatie\FlareClient\Flare;

\Spatie\Ignition\Ignition::make()
    ->runningInProductionEnvironment($boolean)
    ->sendToFlare($yourApiKey)
    ->configureFlare(function(Flare  $flare) {
        $flare->anonymizeIp();
    })
    ->register();
Censoring request body fields
When an exception occurs in a web request, the Flare client will pass on any request fields that are present in the body.
In some cases, such as a login page, these request fields may contain a password that you don't want to send to Flare.
To censor out values of certain fields, you can use censorRequestBodyFields. You should pass it the names of the fields you wish to censor.
use Spatie\FlareClient\Flare;

\Spatie\Ignition\Ignition::make()
    ->runningInProductionEnvironment($boolean)
    ->sendToFlare($yourApiKey)
    ->configureFlare(function(Flare  $flare) {
        $flare->censorRequestBodyFields(['password']);
    })
    ->register();
This will replace the value of any sent fields named "password" with the value "".
Using middleware to modify data sent to Flare
Before Flare receives the data that was collected from your local exception, we give you the ability to call custom middleware methods. These methods retrieve the report that should be sent to Flare and allow you to add custom information to that report.
A valid middleware is any class that implements FlareMiddleware.
use Spatie\FlareClient\Report;

use Spatie\FlareClient\FlareMiddleware\FlareMiddleware;

class MyMiddleware implements FlareMiddleware
{
    public function handle(Report $report, Closure $next)
    {
        $report->message("{$report->getMessage()}, now modified");

        return $next($report);
    }
}
use Spatie\FlareClient\Flare;

\Spatie\Ignition\Ignition::make()
    ->runningInProductionEnvironment($boolean)
    ->sendToFlare($yourApiKey)
    ->configureFlare(function(Flare  $flare) {
        $flare->registerMiddleware([
            MyMiddleware::class,
        ])
    })
    ->register();
Changelog
Please see CHANGELOG for more information about what has changed recently.
Contributing
Please see CONTRIBUTING for details.
Dev setup
Here are the steps you'll need to perform if you want to work on the UI of Ignition.
- clone (or move)
spatie/ignition,spatie/ignition-ui,spatie/laravel-ignition,spatie/flare-client-phpandspatie/ignition-testinto the same directory (e.g.~/code/flare) - create a new
package.jsonfile in~/code/flaredirectory:
{
    "private": true,
    "workspaces": [
        "ignition-ui",
        "ignition"
    ]
}
- run
yarn installin the~/code/flaredirectory - in the
~/code/flare/ignition-testdirectory- run
composer update - run
cp .env.example .env - run
php artisan key:generate
- run
- run
yarn devin both theignitionandignition-uiproject - http://ignition-test.test/ should now work (= show the new UI). If you use valet, you might want to run
valet parkinside the~/code/flaredirectory.- http://ignition-test.test/ has a bit of everything
- http://ignition-test.test/sql-error has a solution and SQL exception
Security Vulnerabilities
Please review our security policy on how to report security vulnerabilities.
Credits
License
The MIT License (MIT). Please see License File for more information.


